
First Steps
Go to https://makecode.microbit.org. This website is where you will input the commands (or blocks) to make the BBC Microbit, which is a mini computer, do things (program it) and create programs for it (lots of commands put together and run at once).
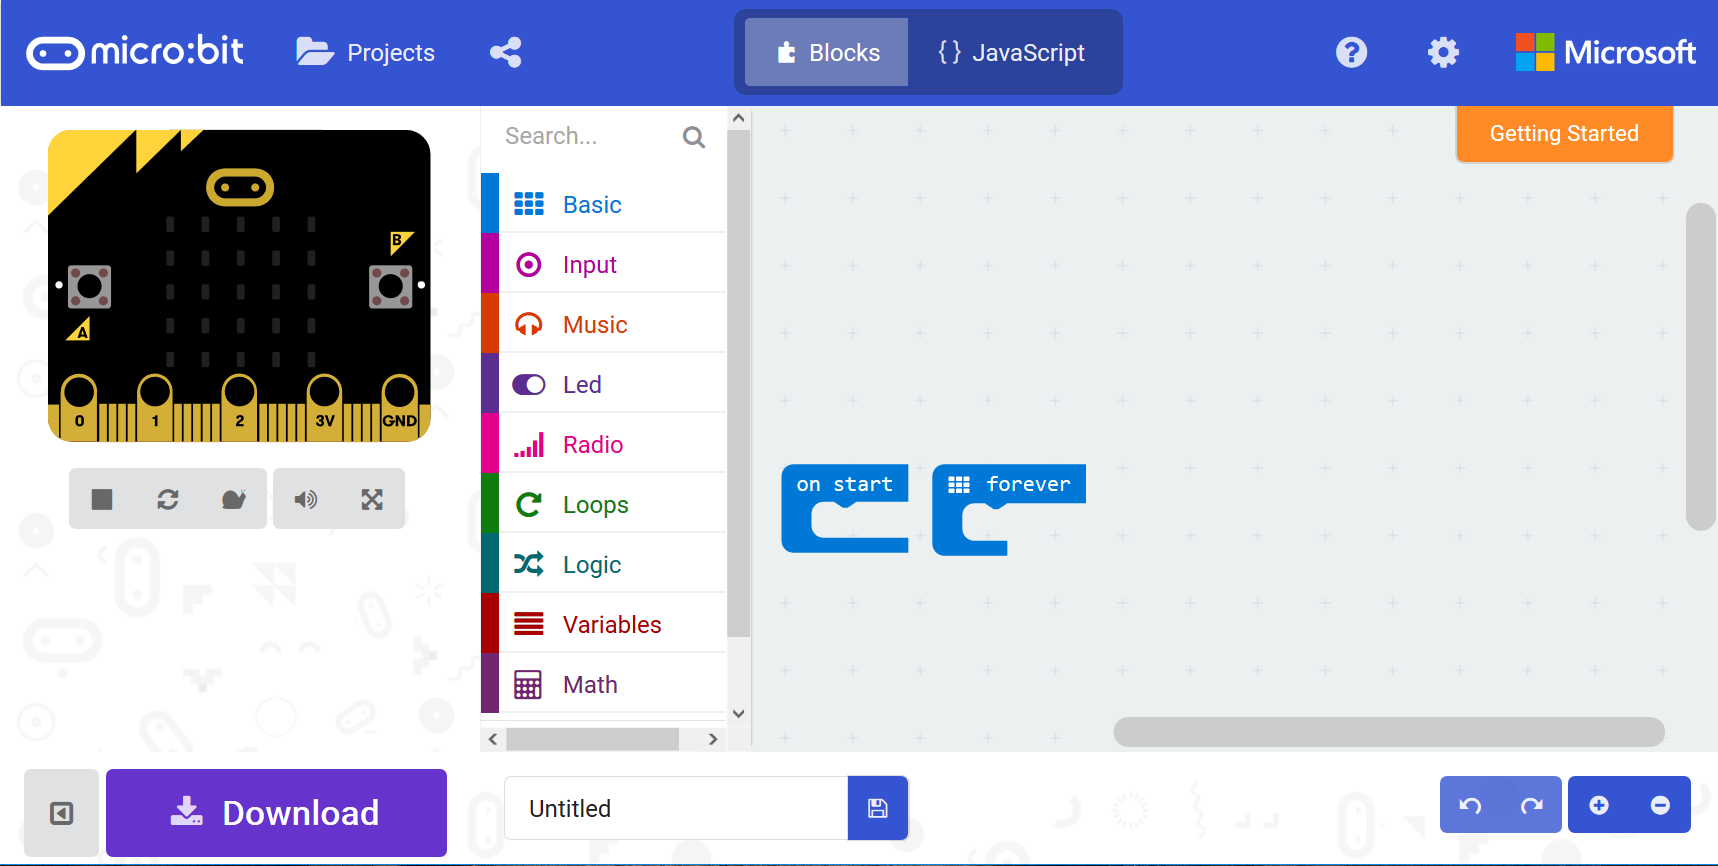
As you can see the page is split into 3 sections. From left-to-right: a pretend Microbit to test your commands, a menu to pick the commands/blocks you can use and lastly a space to arrange your blocks (the blocks section), how to do that is the purpose of the tutorials.
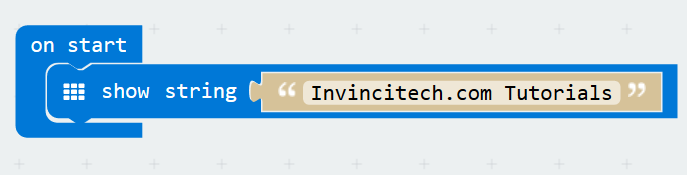
As our first task, click on “Basic” in the middle section (the block menu). This opens up a new section, which has “show string “Hello!”” in it.
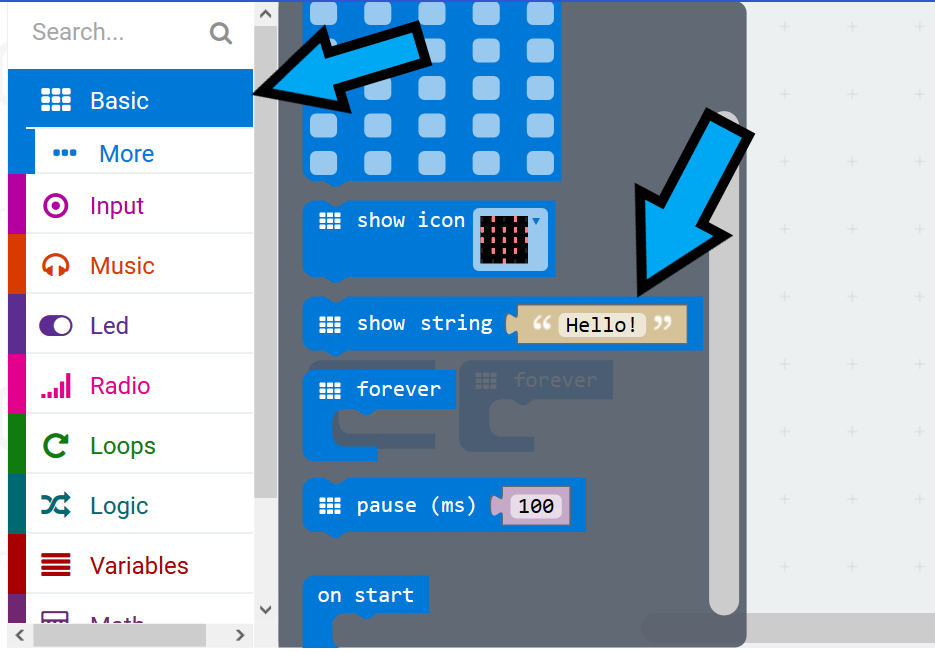
Click-and-drag “show string” into the blocks section, and put it inside the “on start” block. It will click into it, a bit like putting LEGO pieces together the “show string” fits inside the “on start” block. Notice how the little triangle coming off “on start” fits in the triangle shaped hole in “show string”.
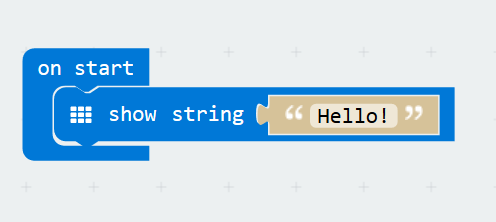
The pretend Microbit will now show “Hello!”, with the letters showing up one by one.
You can change the text. Click on the “Hello!” in the blocks section (the blocks area) and put your own text in:
That’s your first program working. It is a bit boring though as it only does one thing.
Buttons
The Microbit has two buttons, A and B.

Let’s make the Microbit show a happy face when button A is pressed and a sad face when button B is pressed.
Start by dragging the blocks “on start” and “forever” that are already in the block section onto the middle section to delete them (a dustbin will appear in the middle section when you do that).

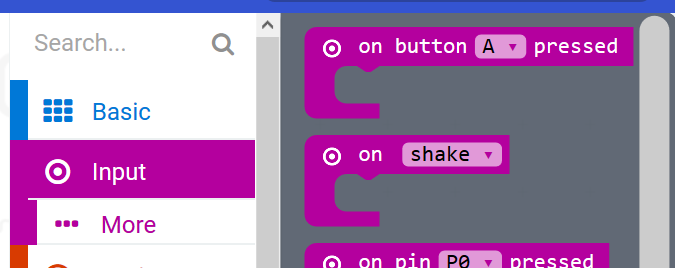
Now click on “Input” in the block menu. A list will appear, click-and-drag “on button A pressed” (the topmost item) into the block area.
Click on “Basic” in the middle section and then click-and-drag “show icon” and put it inside “on button A pressed”:

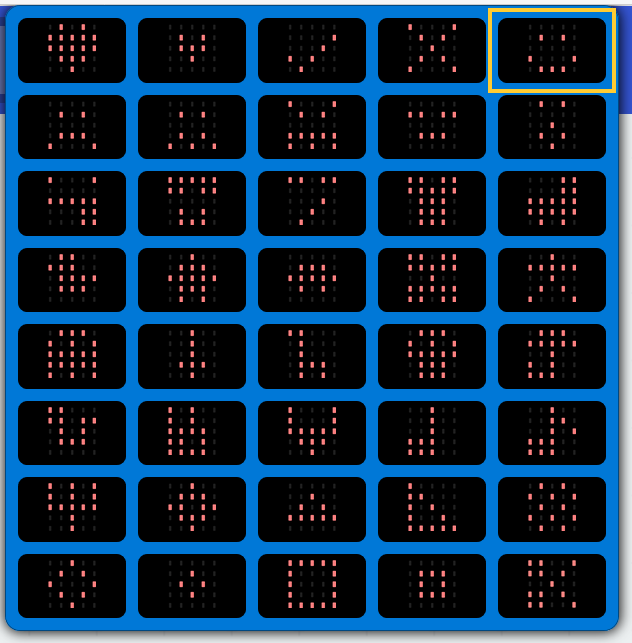
Clicking on the heart (red dot pattern beside the text “show icon”) opens up a list or patterns to display. Choose the happy face (top right).
Now click the virtual A button on the pretend Microbit and a happy face will appear.

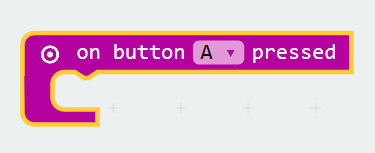
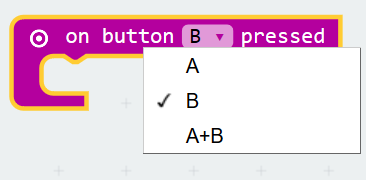
Drag a new “on button A pressed” into the blocks area. It will be a bit faded initially (as you already have one). Click on the “A” on the new block and a menu will open. Pick “B”. You now have “on button B pressed”, and it isn’t faded any more:
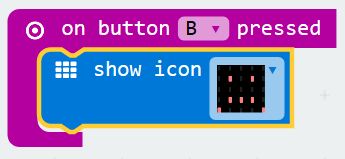
To finish drag a new “show icon” inside “on button B pressed” and choose the sad face (second row, first item in the pattern menu which you used to pick the happy face last time):
Running your blocks on a real Microbit
In this tutorial the instructions are shown for Windows 10. The process is similar for other operating systems.
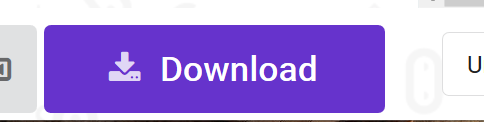
Click the “Download” button in the bottom left:
Save the file when a window pops up asking you what to do. Depending on what web browser (Internet Explorer, Chrome, Firefox, …) you’re using the pop up will look like one of the below:


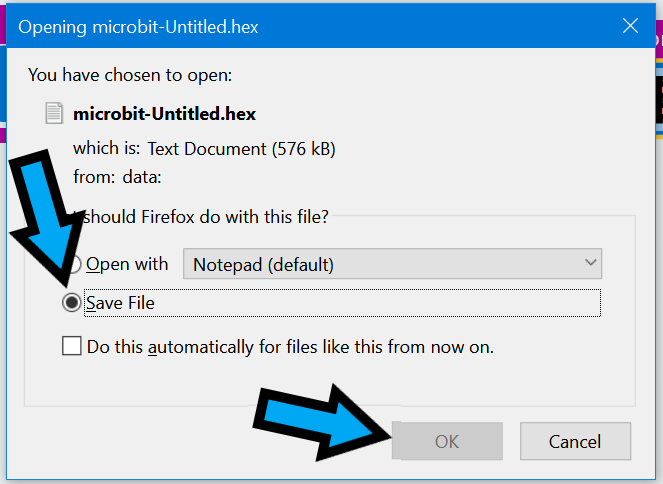

This will have saved the file to your “Downloads” folder.
Saving it somewhere else will only happen if you’ve changed your browser settings to do that. Don’t worry if you don’t know how to do that. The rest of this tutorial covers copying the file downloaded onto the Microbit. If you’ve saved it somewhere else use that folder instead of “Downloads” for the rest of the tutorials.
Now plug your Microbit into your computer; a yellow light should come on when it’s plugged in.
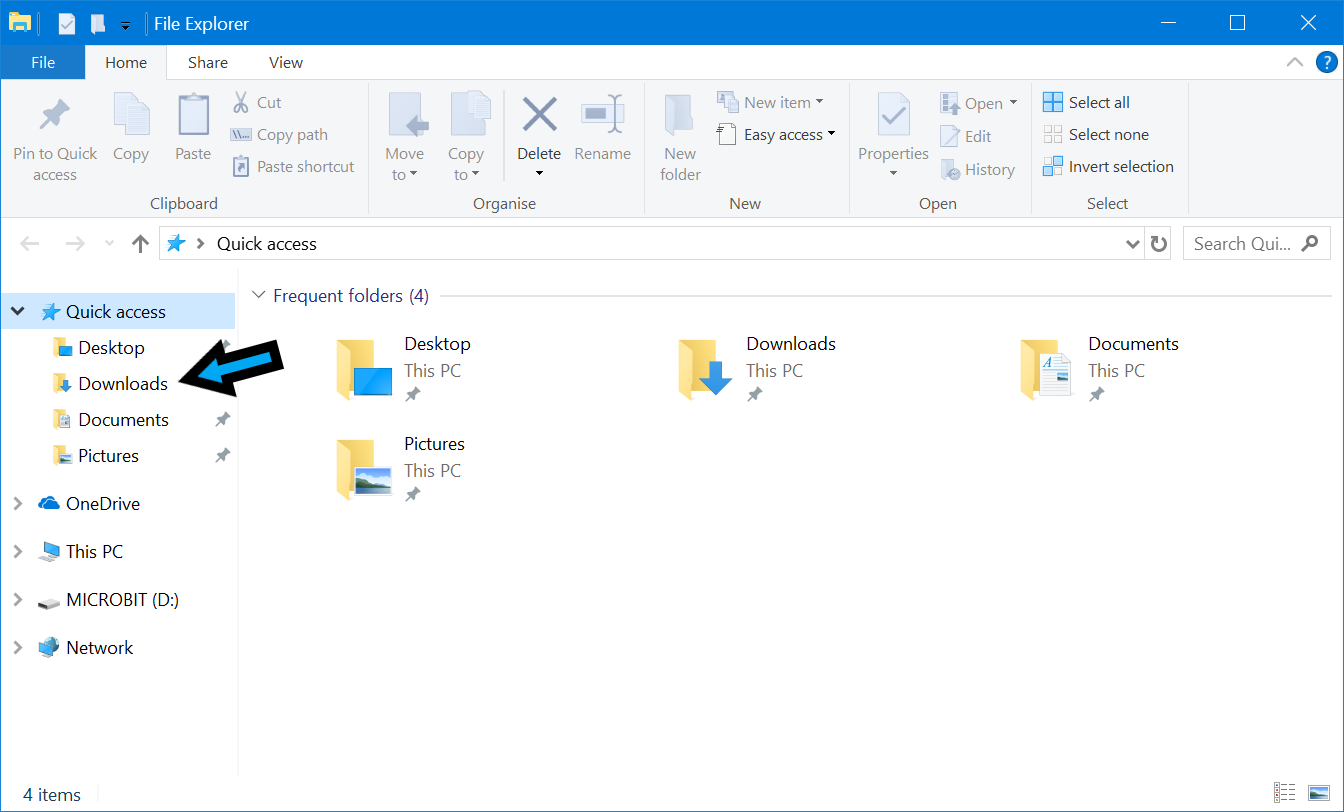
Click the Windows Explorer icon at the bottom of your screen (outside the Microbit website and your web browser) to open Windows Explorer:

Click on “Downloads” on the right hand side of the window
Right-click the file named “microbit-Untitled.hex”. If there’s lots of them with different numbers on the end like “microbit-Untitled (5).hex” pick the one with the biggest number.
Then select “Send To” and pick “Microbit (D:)” from the list that appears.

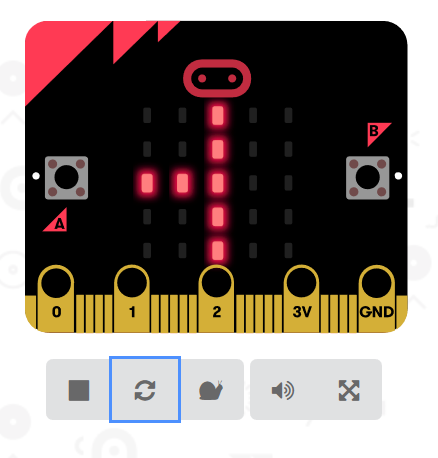
The yellow light on the back of your Microbit will now flash very quickly. When it’s stopped flashing your program is now on the Microbit.
Try pressing “A” and you will get a happy face. What happens when you press “B”, try it?
Summary
Well done for getting this far. That was quite a bit of work.
Next time we’ll try making the Microbit do something more interesting.