This tutorial will cover putting items in a a pre-made level, before covering how to make your own level from scratch. The pre-made level is useful for showing how to use items, so it used extensively.
Go to https://invincitech.com/p2/builder/demo/. You should see something similar to:
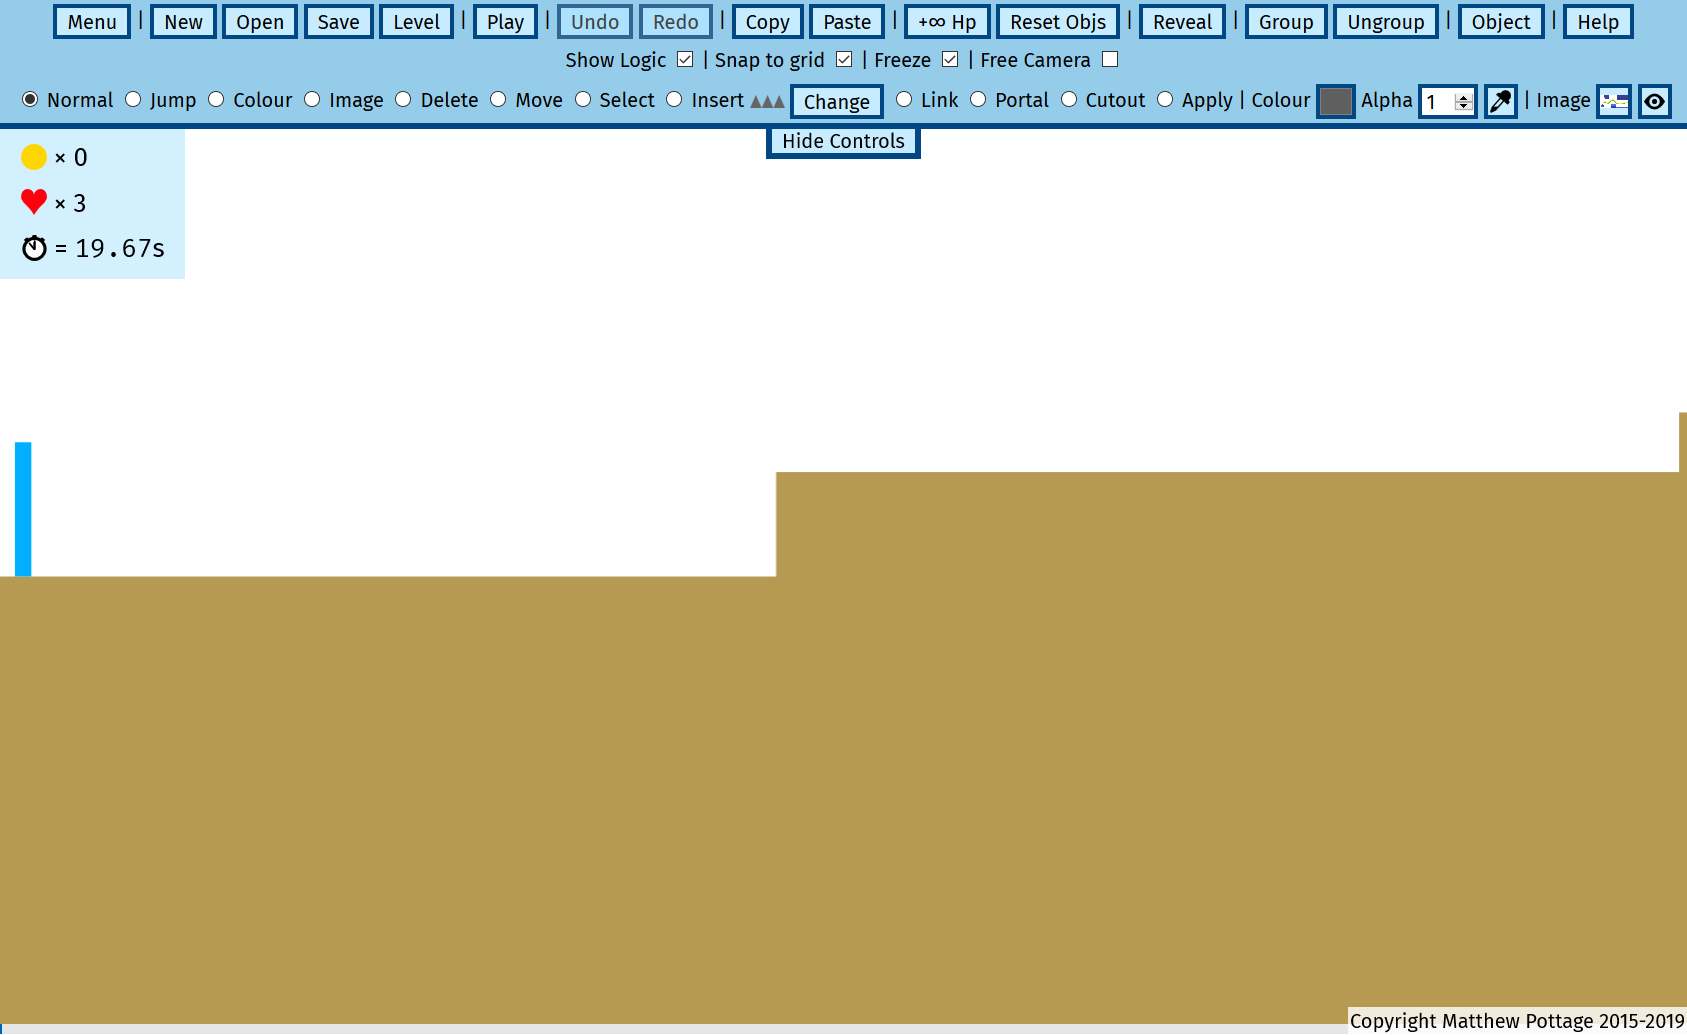
The grey/blue/pink (depending on your settings) section containing buttons and checkboxes at the top of the screen is known as the builder controls. You will use the stuff found in it when making levels.
As the level builder does get updated how it looks might change slightly, and buttons could be renamed or added. Don’t worry though, this tutorial will always give you the up-to-date name and position of the button.
Everything that can be done in the level builder has some help about it written here. You can dive in there if you want, or follow this tutorial for a more friendly introduction.
There are a lot of buttons. You can ignore most of them, for instance this tutorial uses just 7 of them (out of at least 35).
Controlling the player
Play this level for a quick tutorial.
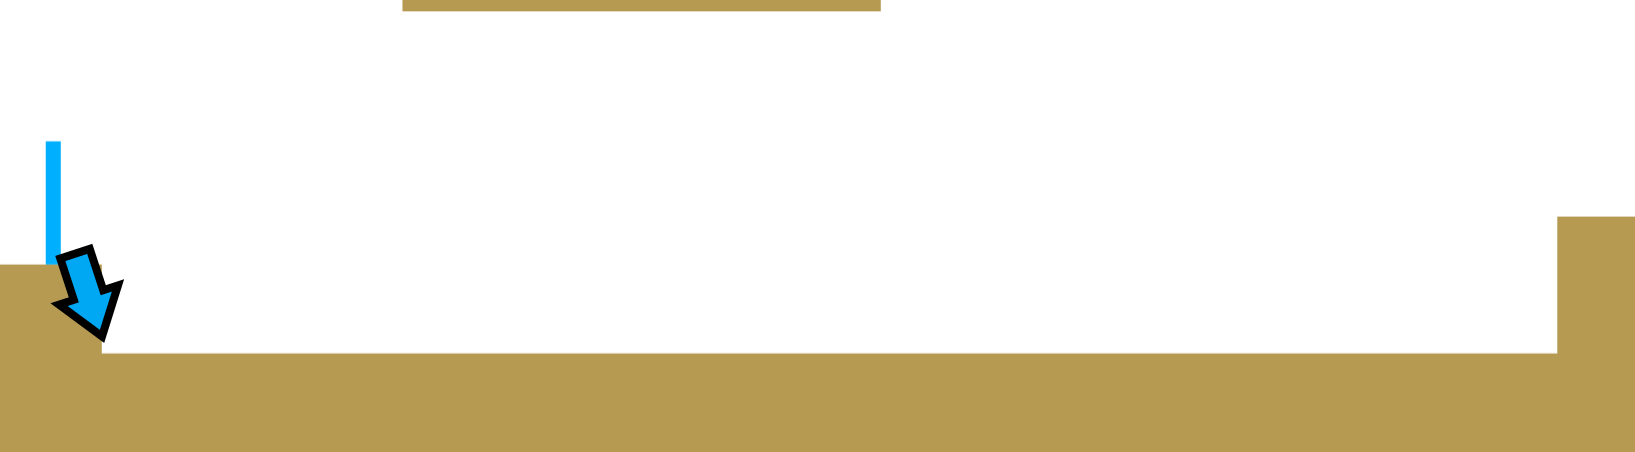
You use the Left and Right arrow keys to move the player (the light blue rectangle starting on the left hand side of the screen) left and right. Press the Up arrow to make the player jump.
How fast you are moving left and right on the ground affects how fast you will be moving left and right when you jump.
Play around a bit until you are comfortable making the player move.
Preview of what can be done
Try playing on a pre-made level here:
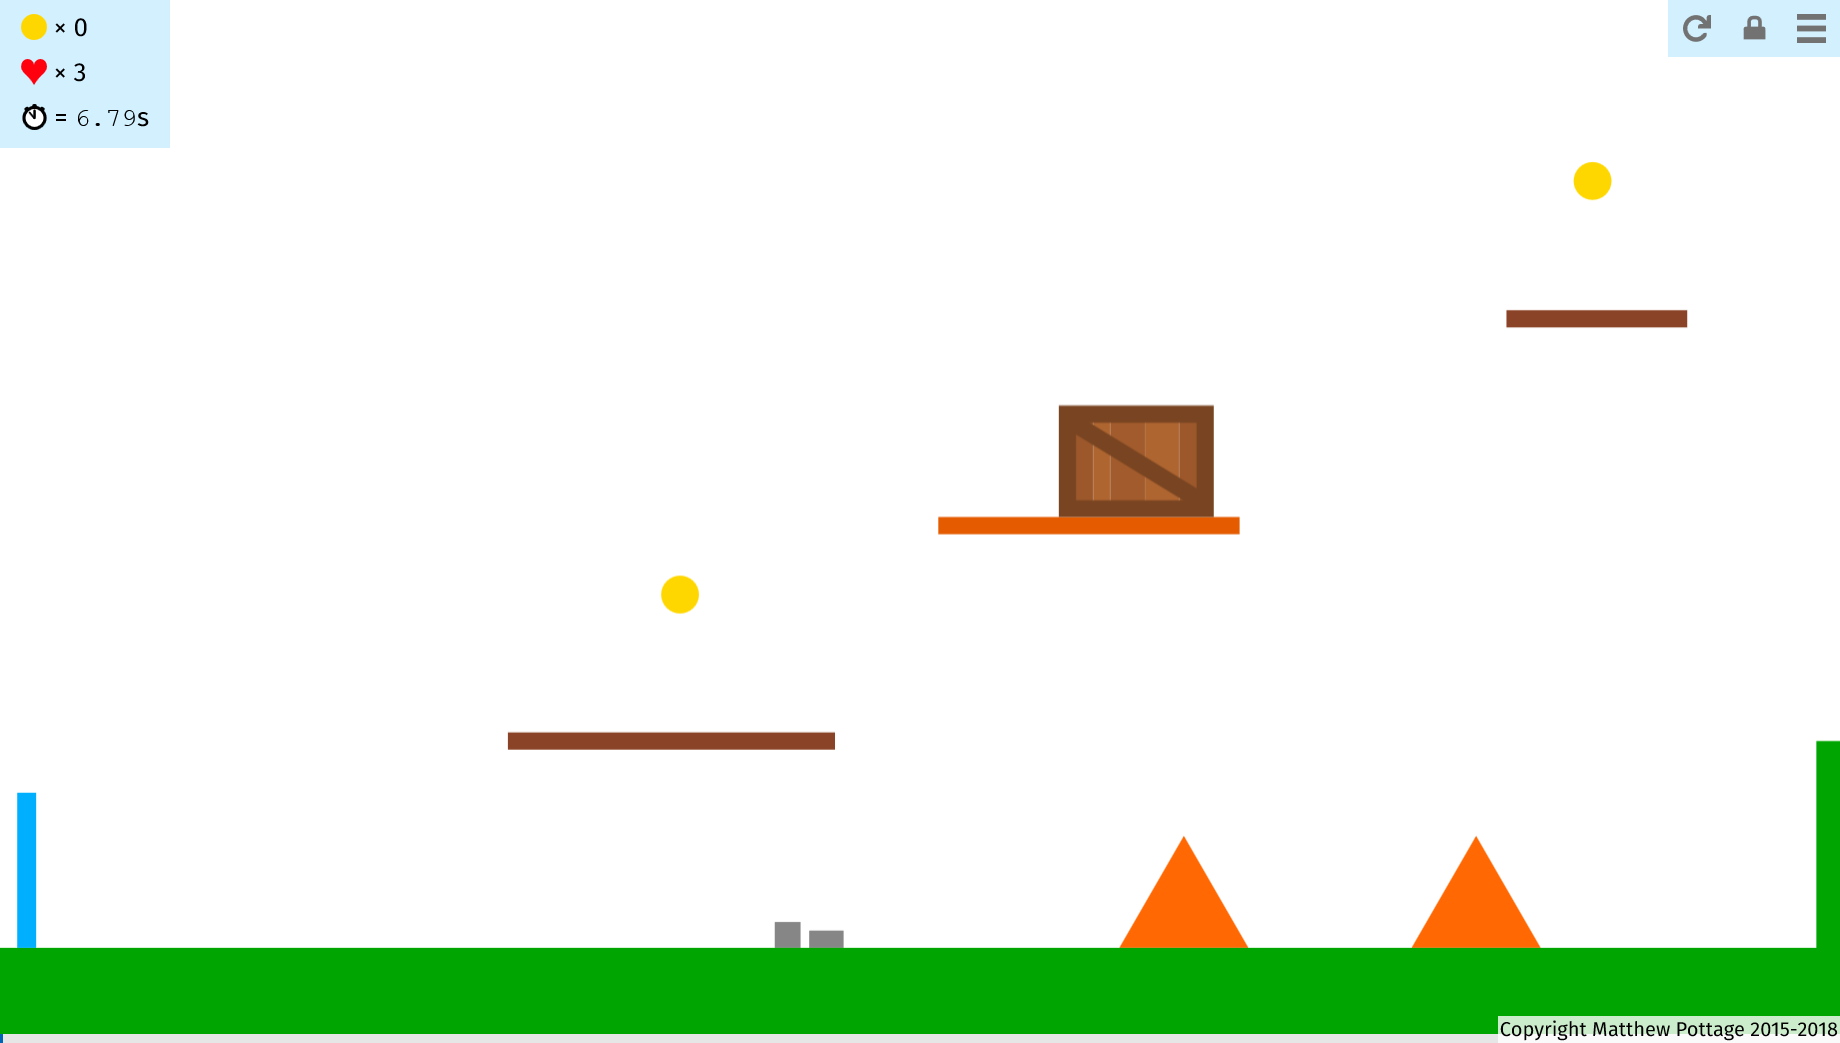
To open the box, or destroy an orange triangle (which is an enemy that makes you lose a life on impact), shoot a stone at them, or two each for the triangles. This is done with the Space key, and the stone moves in the direction the player is moving. So run left to shoot left, right for right, and jump to make the stone go up.
The level shows a number of features, including a hidden area (which uses linking) or spikes and water (which are inserted like any other item). Don’t worry about adding these features to your levels right now.
Touchscreen
If you are on a tablet or have a touchscreen you can use it to control the level builder. Whenever it says “click”, “tap”, and instead of “click-and-drag” do “touch-hold-and-drag”.
A few extra buttons will show at the bottom of the screen:
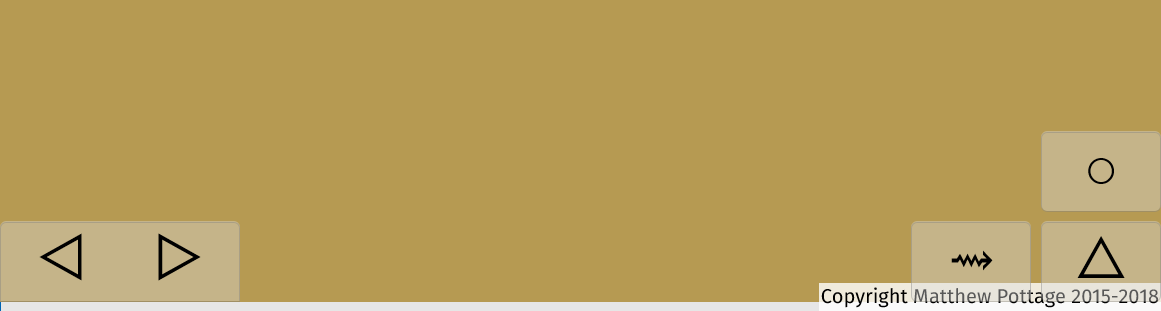
The buttons on the lefthand side are left and right. On the righthand side, the squiggly arrow is throw a stone, the triangle is jump and the circle is use a special (you haven’t seen any specials yet).
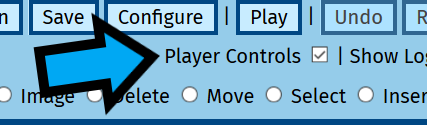
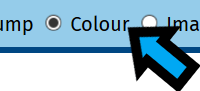
To hide these buttons if they get in the way click on “Player Controls” to uncheck their checkbox, found in the builder controls:
Tick the checkbox to show them again. This checkbox doesn’t exist if you don’t have a touchscreen.
Adding a platform
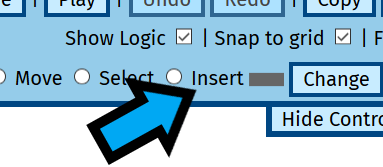
Something the player can stand on is known as a platform. To add one, click on “Insert” (found in the builder controls, shortcut “i”):
Now click on a point on the screen:
Keep your mouse held down, and drag to make a rectangle:

Try moving the player on top of the platform:

Moving the platform
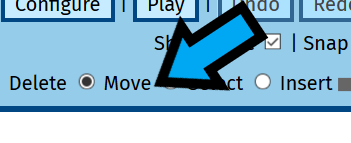
It’s possible you put the platform too high and the player can’t jump onto it. That can be fixed. Click on “Move” (found in the builder controls, shortcut “m”):
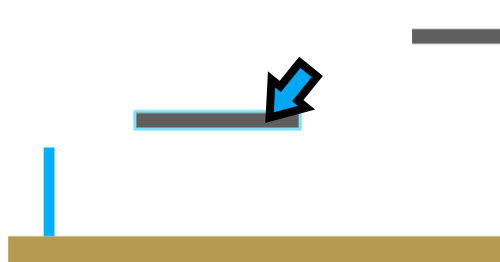
Now click on and drag the platform you just inserted to a position that the player can jump onto:

Try adding a few more platforms for the player to jump onto:

Mistakes
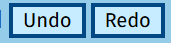
Anything you do in the level builder can be undone by pressing “Undo” in the builder controls (shortcut Control+z), and if you want to redo what you just undid press “Redo” (shortcut Control+y or Control+Shift+z) instead.
Deleting
To delete a platform (or anything, except the player) click on “Delete” in the builder controls (shortcut “d”):
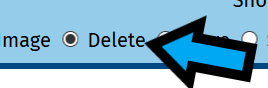
Then click on what you want to get rid of:
And that’s it.
More platforms
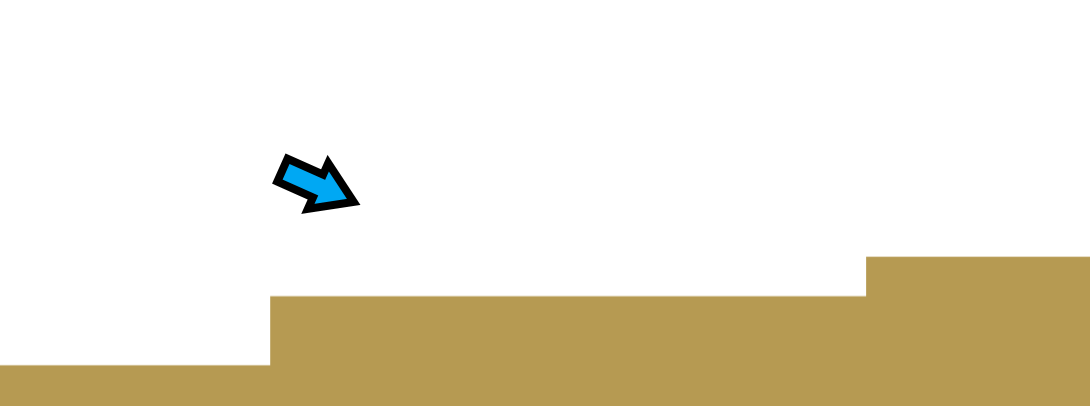
If you travel some distance to the right in the level you will discover:
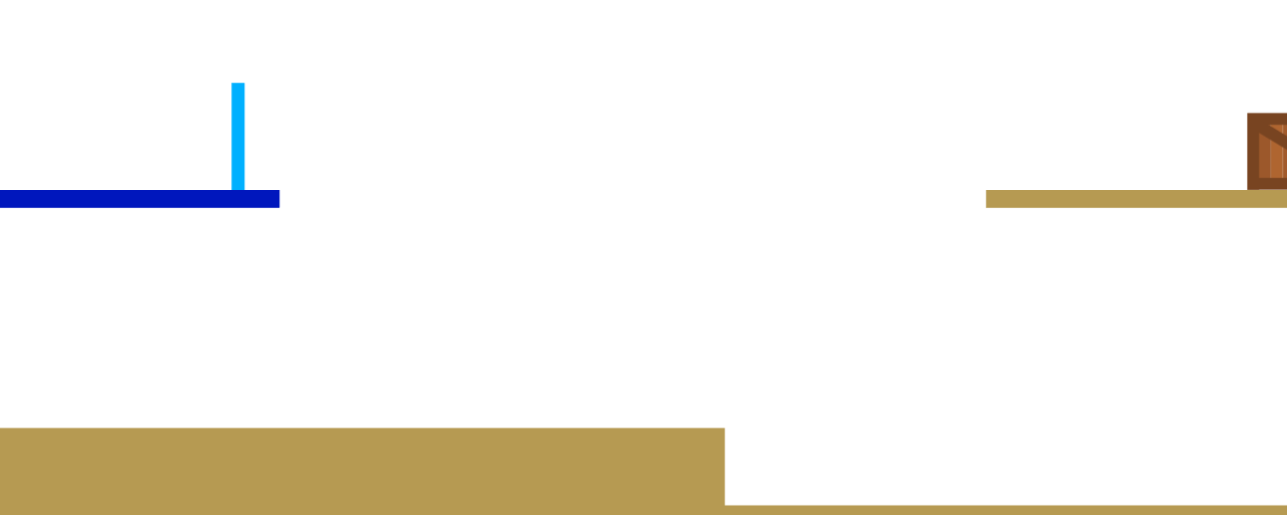
Where there is a gap that is too big to jump across. Add in a platform so that the player can make it to the other platform:

Colours
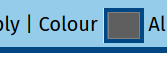
You will notice that the level has yellow/golden platforms. To choose the colour of the platforms you put in click on “Colour” in the builder controls:
Depending on what web browser or operating system you are using you may see something like the below display:
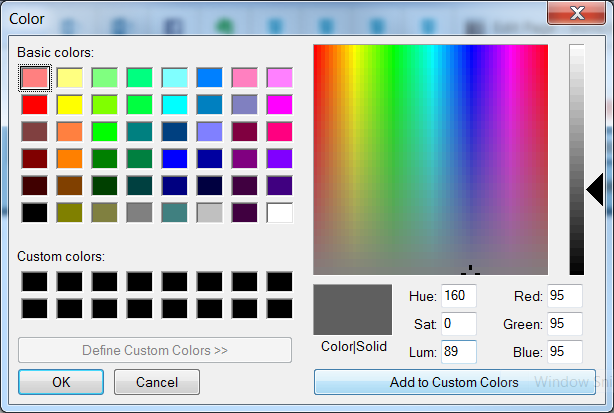
Pick the colour you want, and then press “OK”.
When you add a new platform it will have the chosen colour.
Changing colours after inserting
Click on “Colour” in the builder controls:
Now click on the platform (or any item) that you want to change the colour. It will change to the one you just picked. And that’s it.
Coins
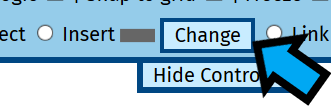
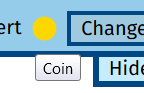
Click on “Change” in the builder controls, next to “Insert”:
A new screen will open:
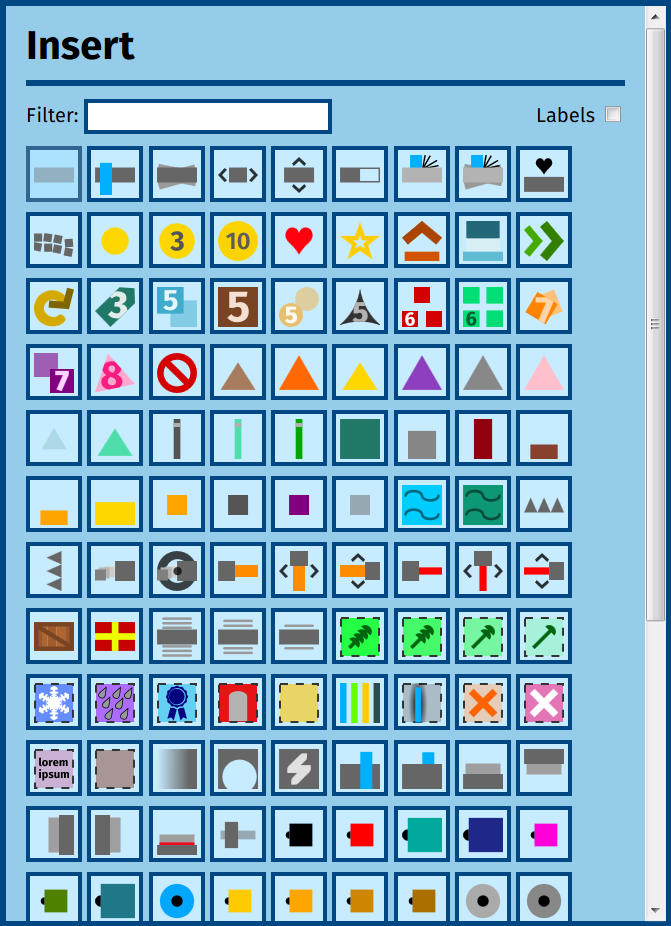
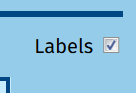
This is everything you can add. If you want see the name of every item next to it tick the “Labels” checkbox:
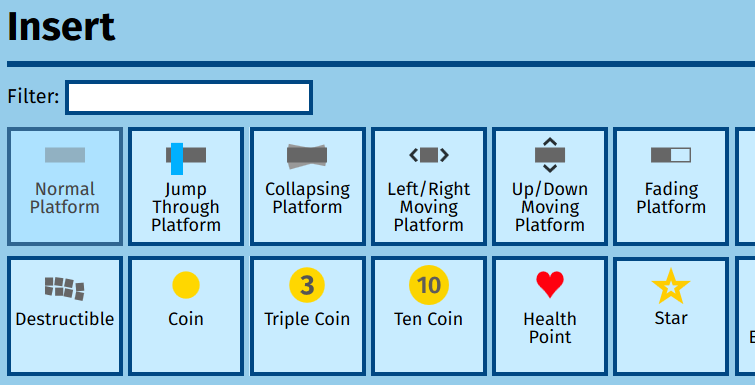
The first item is a normal platform, which is what you’ve been adding. Now click on “Coin”, which looks like:

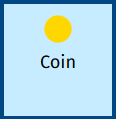
You will see that the icon next to the “Change” button will change to the coin’s icon:

Looking at the icons is a fast way to see what you are inserting. If you have a mouse you can hover over the icon to see the name of the item:
Now click anywhere in the level. This adds a coin centered on where you click.

Just like platforms you can move and delete them.
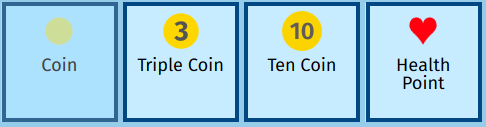
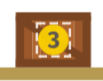
You can add a “Triple Coin”, a “Ten Coin or a “Health Point” pickup in the same way, click “Change”, then choose it from all the items you can see, and then click to put them in:
Restoring coins after collection
To collect a coin, you move the player so that it hits the coin. The coin then disappears. It’s still part of the level, but because you collected it it is now hidden.
To restore any pickups, or anything, back to how it should be when you start playing the level, click the “Reset Objs” button found in the builder controls (shortcut “r”):
Adding an Orange Triangle enemy
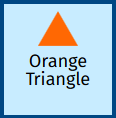
Click on the change button again and choose the “Orange Triangle”:

In future only the icon with the label will be shown.
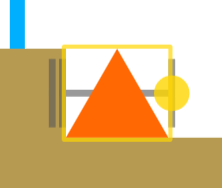
If you played the preview level you will have seen that the Orange Triangles move from left-to-right and back again, doing that repeatedly.
Click on the leftmost point the triangle should reach, for example:
Release the mouse button. Now move your mouse to the rightmost point it should reach:
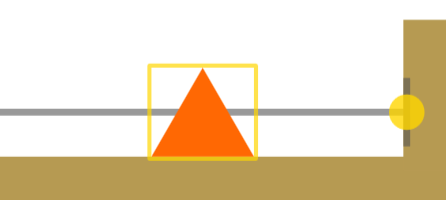
Now click again. The lines indicating the route of the triangle will disappear when the level is being played normally. There are quite a lot of these special items displayed just to make it easier to see what is going on when you are making a level.
That’s it.
You can start with the rightmost point and end with the leftmost point instead. It just means that the triangle will start at the rightmost point instead of the leftmost when the level starts.
Don’t forget that “Reset Objs” will get the triangle back if you kill it with two stones.
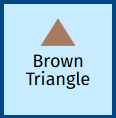
There a few different types of triangles:

Each is inserted in the same way, but they behave differently:
Free Camera
Moving the player so that you are looking at the right position to add something gets irritating.
To change your view, without moving the player tick the “Free Camera” checkbox found in the builder controls:
You will notice some new buttons appear at the left, right, top and bottom of the level view. If a button doesn’t show it just means you can’t view anything any further in that direction:
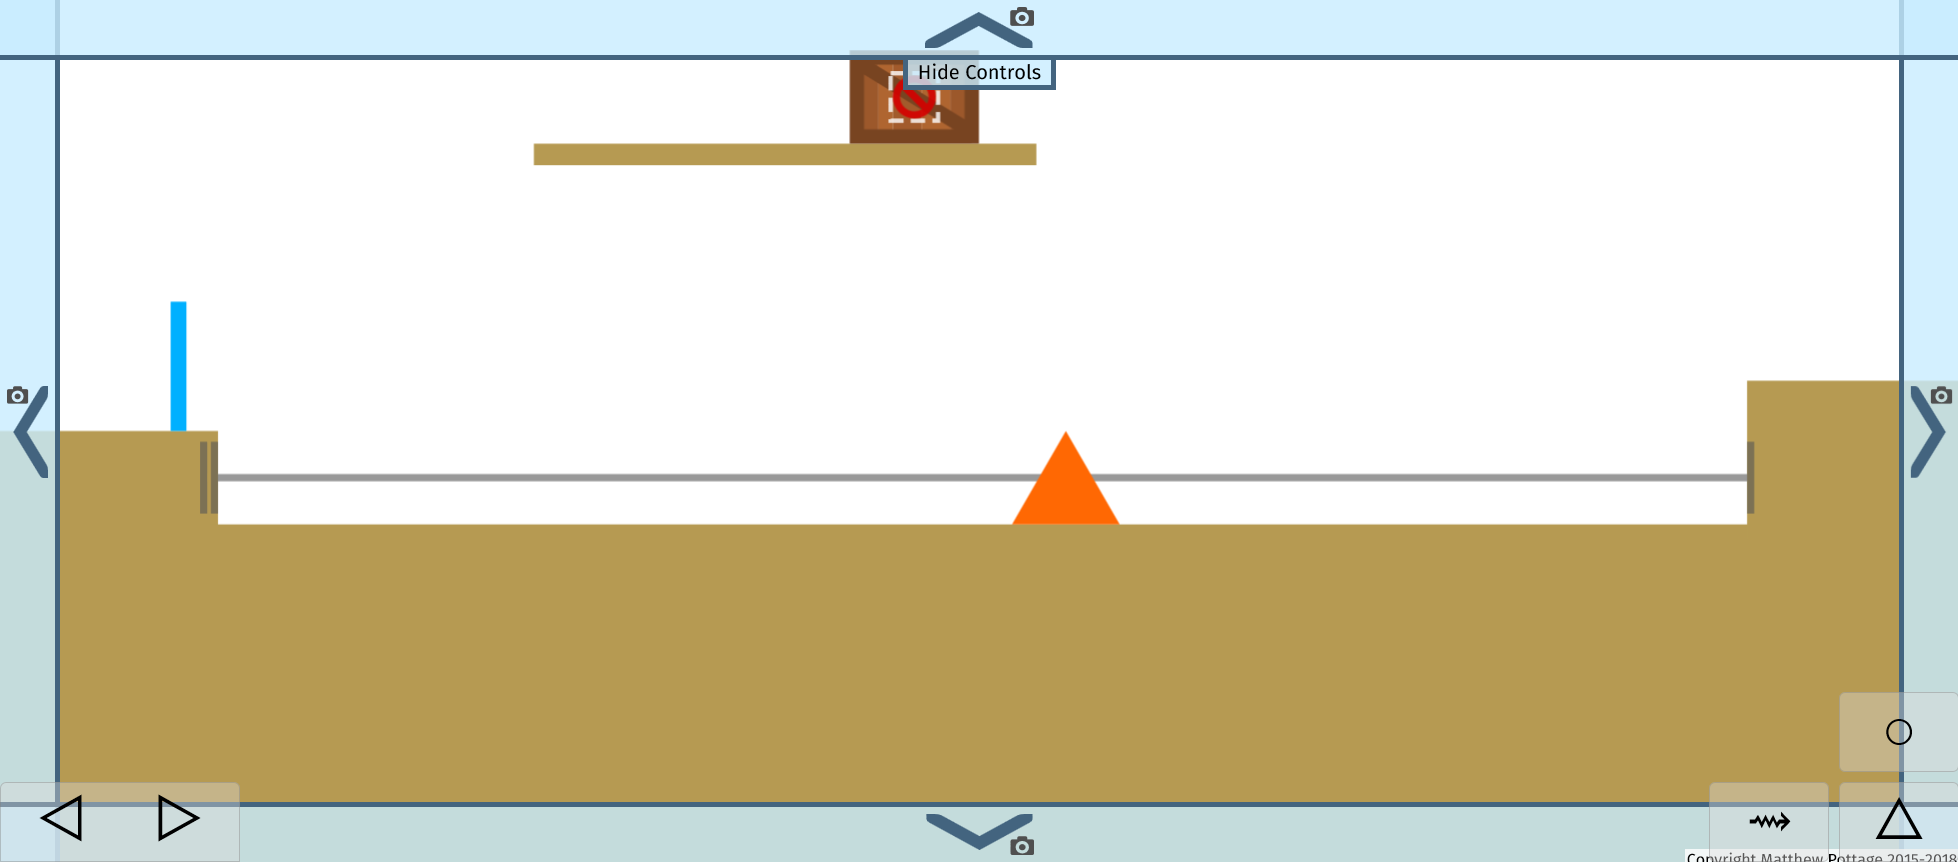
Click on one of the buttons (which have a little camera icon) to view more of the level in the indicated direction. For example, pressing the button with the arrow pointing right will show more of the level to the right of what you are looking at.
A shortcut for each of the buttons is pressing Control+(Arrow Key for the direction). So Control+Right Arrow will move further right along the level, if it can.
Pickup Boxes
Using the “Free Camera” change your view so that you can see:
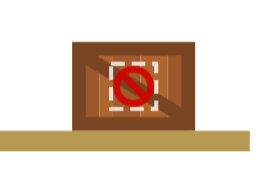
This is a “Wooden Box”, which can contain a pickup (say a coin) which the player can get by opening the box (which is done by shooting it with a stone).
At the moment it is showing (showing the contents or none before it is opened is only for the level builder):

Which means there is nothing in the box. To put something in it you simply start as if you were inserting a pickup (say a coin) and click on the box instead of some blank space in the level. This puts the pickup inside the box. To change the pickup, just put a different one inside the box. Showing the pickup before you open the box is special to the level builder:
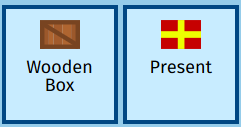
There are two types of pickup boxes you can insert. To add them choose one after clicking the “Change” button and then click where you want the middle of the box to be:
Winning
If you run to the far right of the level you will get a message like the below:

This happened because the player hit a “Win Region”:

A win region is just another thing you can put in a level. To add it click-hold-and-drag to make a rectangle, just like when you add a platform (however it isn’t a platform).
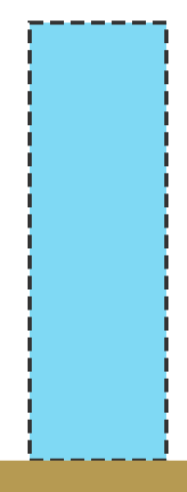
The blue rectangle and a dashed border to show where the win region is is only in the level builder.
Saving your level
To save your level click the “Save” button found in the builder controls:
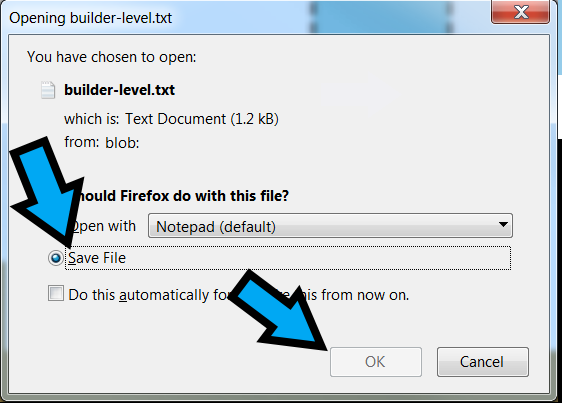
Then choose “Save” from the window that appears (if any):

Opening your saved level
Click on the “Open” button, just next to the “Save” button:
If changed your web browser (Chrome, Firefox) settings and your the level is not in Downloads it won’t be opened using the instructions shown below, you’ll need to find the file yourself.
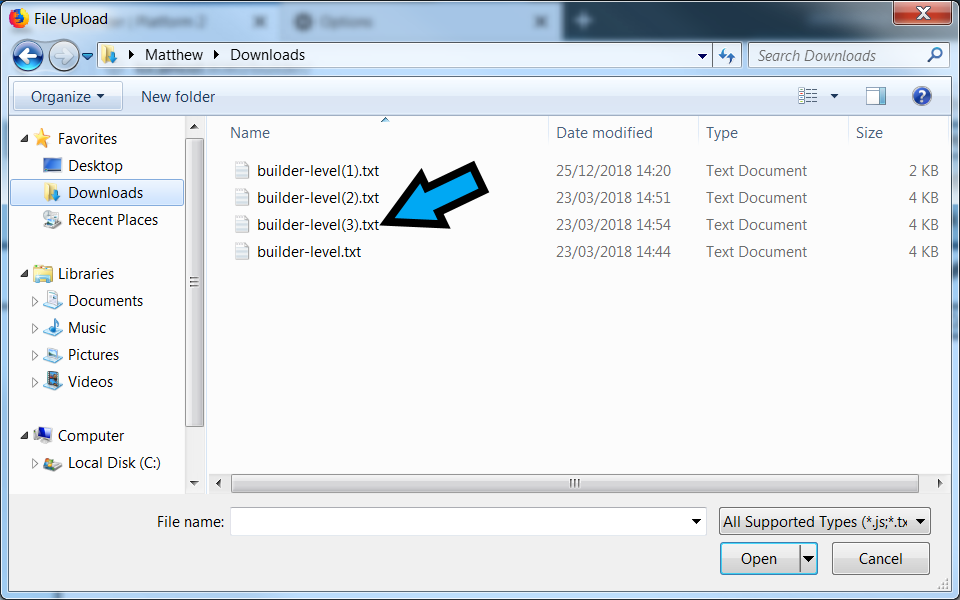
Click on “Downloads” in the window that appears:
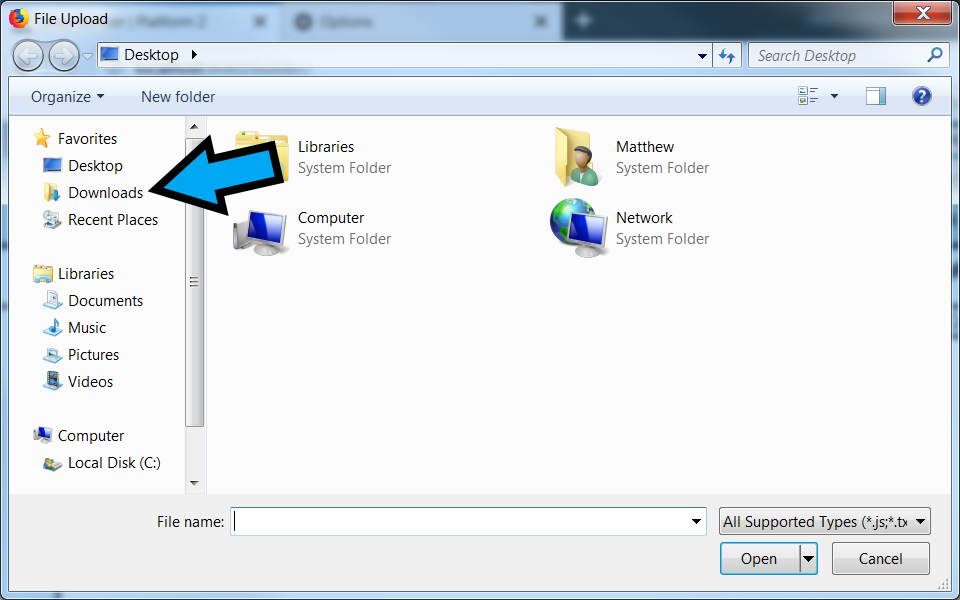
And then choose the “builder-level(?).txt” file that has the biggest number in it:
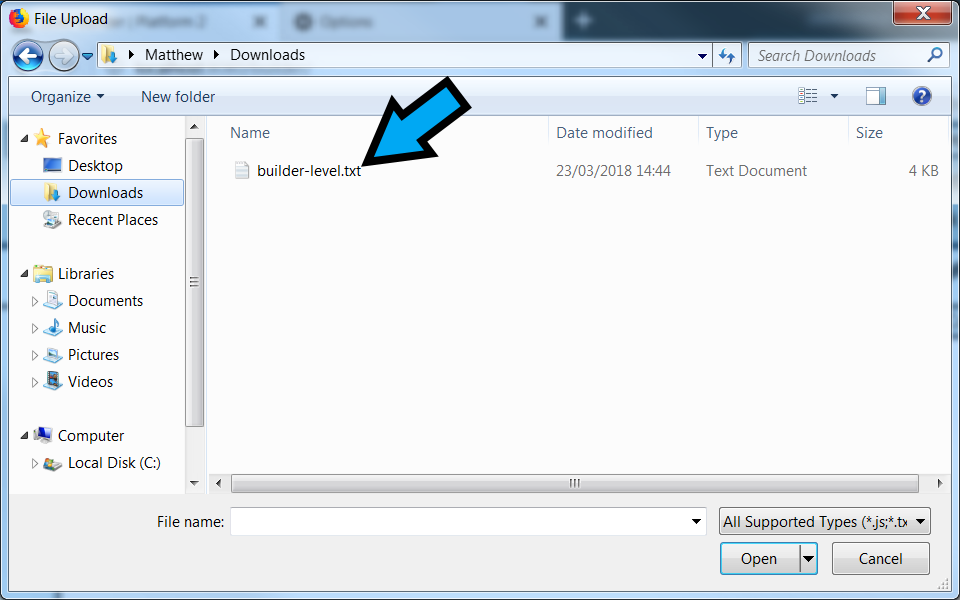
If there aren’t any with numbers, pick the one called “builder-level.txt”:
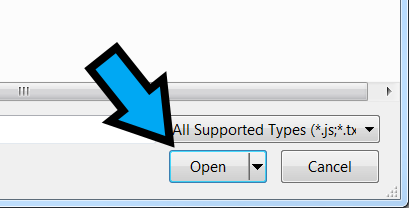
Then click the “Open” button at the bottom right of the window:
That’s it.
Playing it as a normal player
Just press the “Play” button (shortcut “=”) found in the builder controls:

Getting a blank level
To start with an empty level, so you can put everything together from scratch, instead of the level you started with this time click on “New” in the builder controls, or open https://invincitech.com/p2/builder/ in a new tab.
Configuring a blank level
You will notice that you can’t go up or down when using “Free Camera” when starting with a blank level.
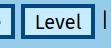
To let you go up and down, click on “Level” (shortcut “e”) in the builder controls:
This opens a new screen, known as the configure level screen:
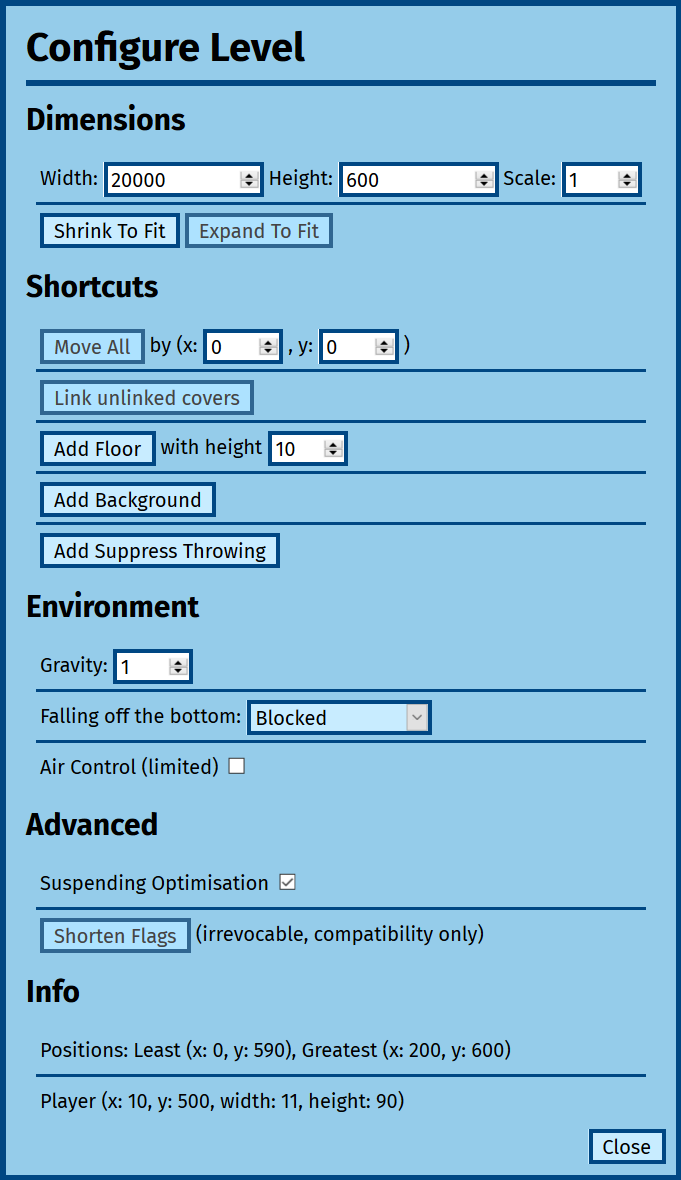
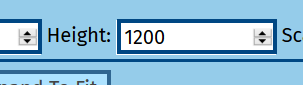
Click on “Height”, found just below the title “Configure Level”, and change the value to a larger one. Changing it in steps of at 300 works quite well. Setting it to 1200 gives you a level that is the same height as the one you get by going to https://invincitech.com/p2/builder/demo/:
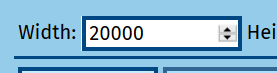
You might want more space to the right. Click on “Width” and change the value to a bigger value. Changing it in steps of 2000 is a good idea.
When you’ve finished making your level, and changing the “Width” or “Height”, it might be too wide or tall, with lots of white space off to the right or below the items you’ve put in. You can make the “Width” or “Height” just big enough for the level by putting in smaller values, or you can click the “Shrink To Fit” button instead:
Finally, click the “Close” button at the bottom right of the configure level screen to make it disappear:
Pressing the “Escape” key on your keyboard, or clicking on the dark area around the configure level screen will also close it:
As always, you can undo or redo any change you make to the level.
Conclusion
Try making your own level using what has been shown. Have fun and share it with your friends.
In the next part find out how to transport the player around.